

 2
2 1
1 2
2

Shadow: Choose and discard 1 attachment you control. Discarded objective cards are returned to the staging area. (If this attack is undefended, discard all attachments you control.)


 6
4
10
6
4
10
X is the number of players in the game.
Immune to player card effects. Cannot be optionally engaged.
Temple Guardian gets -50 engagement cost while Cursed Temple is the active location.
 5
X
10
5
X
10
Campaign Mode only.
Archery X. X is the number of players in the game.
Immune to player card effects. Cannot be optionally engaged.
Temple Guardian gets -50 engagement cost while Cursed Temple is the active location.
 3
3
3
3
3
3
Immune to player card effects. Revenant gets +2![]() and +2
and +2![]() for each resource on the campaign card.
for each resource on the campaign card.
Forced: When 3 or more damage would be placed on Revenant, place 2 damage instead.
Forced: After Revenant is destroyed, shuffle it into the encounter deck. Place 1 resource on the campaign card.

 5
X
6
5
X
6
X is the number of players in the game.
When Recurring Nightmare leaves play, shuffle it into any player's deck.
Forced: When Recurring Nightmare enters your hand, add it to the staging area.

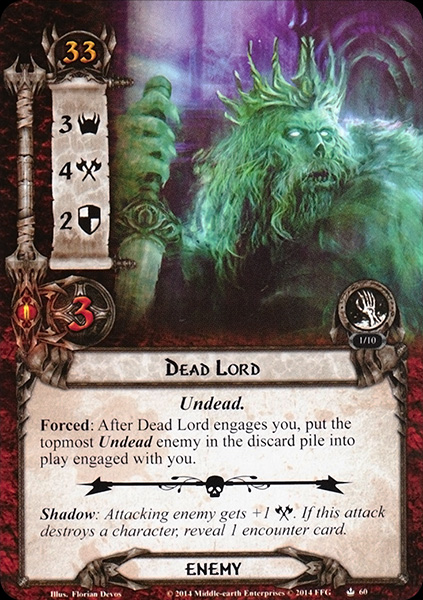
 3
1
4
3
1
4
The engaged player cannot reduce his threat.
Forced: After Groping Dead attacks and destroys a character, place 1 mire token on the active location.
Shadow: If this attack destroys a character, place 1 mire token on the active location.
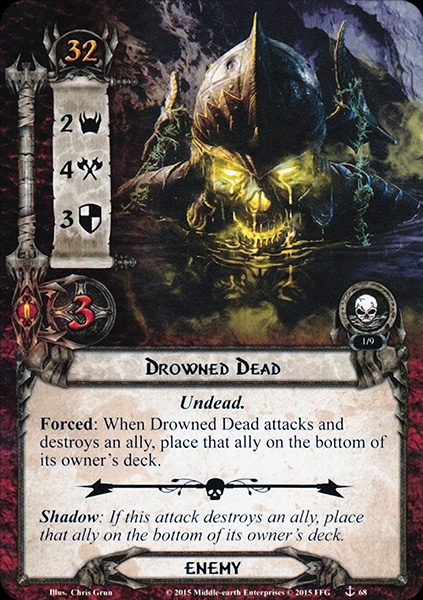
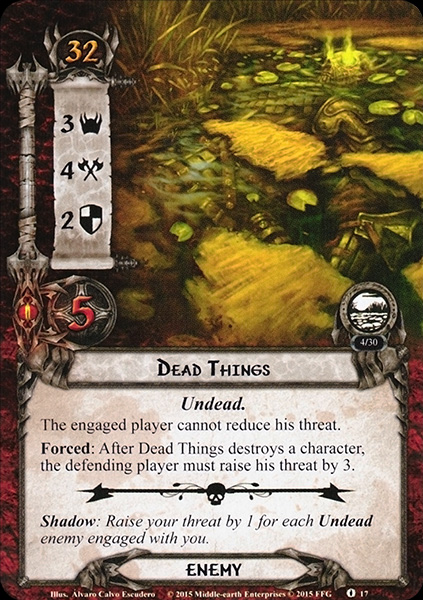
 4
2
5
4
2
5
The engaged player cannot reduce his threat.
Forced: After Dead Things attacks and destroys a character, the defending player raises his threat by 3.
Shadow: Raise your threat by 1 for each Undead enemy engaged with you.
 5
2
6
5
2
6
The engaged player cannot reduce his threat.
Forced: After Candle-bearer attacks and destroys a character, it cannot take damage until the end of the round.
Shadow: Until the end of the round, attacking enemy cannot take damage.

 2
1
3
2
1
3
Forced: After Dead Man of Dunharrow engages you, either attach a set aside Overcome by Fear to your threat dial, or ra
Shadow: Attacking enemy gets +1 Attack.
 3
1
4
3
1
4
When Revealed: Either raise each player's threat by 2, or reveal an addit
Shadow: Attacking enemy gets +1 Attack and loses the Phantom keyword for this attack.
 3
1
5
3
1
5
When Revealed: Either attach a set aside Overcome by Fear to your threat dial, or Ghosts of Men makes an immediat
...a rumour came after him like the shadow-sound of many feet. -The Return of the King
 4
2
6
4
2
6
Forced: When Shadow Host engages you, either attach a set aside Overcome by Fear to your threat dial, or it makes
"In that gloom the Shadow Host seemed to grow stronger and more terrible to look upon."
-Legolas, The Return of the King
 6
2
8
6
2
8
Immune to player card effects.
X is twice the number of players in the game.
Forced: When Army of the Dead attacks, you must either attach a set aside Overcome by ~Fear to your threat dial, or discard

 6
2
8
6
2
8
Immune to player card effects. The first player gains control of Army of the Dead.
Setup: The first player takes control of Army of the Dead.
If Army of the Dead leaves play, remove it from the game.
"Now come! By the Black Stone I call you!"
-Aragorn, The Return of the King

 2
1
2
2
1
2
Shadow: Choose and discard 1 attachment you control. Discarded objective cards are returned to the staging area. (If this attack is undefended, discard all attachments you control.)

 1
2
4
1
2
4
Cannot have attachments.
Spirit of the Wild gets +1 ![]() and +1
and +1 ![]() for each Key objectives the players control.
for each Key objectives the players control.
Shadow: Attacking enemy gets +1 ![]() for each Key objective the players control.
for each Key objective the players control.

 6
4
9
6
4
9
Cannot have attachments.
Forced: After a treachery card with the Sorcery trait is revealed from the encounter deck, Thaurdir makes an immediate attack against the first player.
 5
2
6
5
2
6
Forced: After Thaurdir’s Damned engages you, discard the top 2 cards of your deck and assign X damage among characters you control. X is the combined printed cost of the discarded cards.
"I saw them; grim faces and evil..." –Frodo, The Two Towers
 2
1
5
2
1
5
Forced: When Baleful Shade attacks, the defending player discards the top card of his deck. If the discarded card is an ally, Baleful Shade gets +2 ![]() for this attack.
for this attack.
Shadow: Exhaust a character you control.

 3
1
2
3
1
2
When Revealed: Put each copy of Cursed Dead in the discard pile into play in the staging area.
Shadow: Attacking enemy gets +1 ![]() (+2
(+2 ![]() instead if there is a copy of the defending character in its owner's discard pile).
instead if there is a copy of the defending character in its owner's discard pile).

 6
4
9
6
4
9
Indestructible. Cannot have attachments.
Forced: After a treachery card with the Sorcery trait is revealed from the encounter deck, Thaurdir heals 3 damage and makes an immediate attack against the first player.
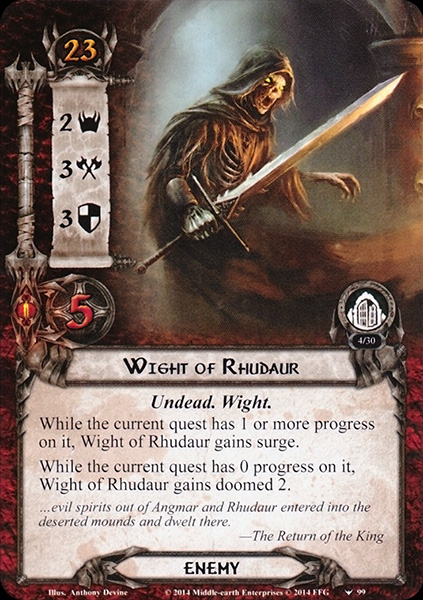 3
3
5
3
3
5
While the current quest has 1 or more progress on it, Wight of Rhudaur gains
UNRECOGNIZED TYPE: keywordkeyword
@surge}.While the current quest has 0 progress on it, Wight of Rhudaur gains doomed 2.
...evil spirits out of Angmar and Rhudaur entered into the deserted mounds and dwelt there.
–The Return of the King
 4
2
4
4
2
4
Forced: When Traitorous Wight engages a player, remove 2 progress from each quest card in play.
Shadow: For each point of damage dealt by this attack, remove 1 progress from each quest in play.

 6
4
9
6
4
9
Indestructible. Cannot have attachments.
Each other enemy gets +10 engagement cost.
Forced: After Thaurdir is flipped or a treachery with the Sorcery trait is revealed, deal 1 shadow card to each enemy in play.
 6
4
9
6
4
9
Indestructible. Cannot have attachments.
Each other enemy gets -10 engagement cost.
Forced: After Thaurdir is flipped or a treachery with the Sorcery trait is revealed, Thaurdir heals 3 damage and makes an immediate attack against the first player.

 4
5
12
4
5
12
Cannot have attachments.
Daechanar gets +1 ![]() for each Sorcery card in play, and gains indestructible while at least 1 Sorcery card is in play.
for each Sorcery card in play, and gains indestructible while at least 1 Sorcery card is in play.
Forced: When Daechanar is damaged, if there is at least 1 Sorcery card in play, cancel all damage just dealt and remove a Sorcery card from the game.
 5
0
9
5
0
9
Forced: After Dwimmerlaik attacks and destroys a character, the defending player reanimates that character and deals it 1 shadow card.
Shadow: If this attacks destroys a character, reanimate that character and deal it 1 shadow card.
 2
2
4
2
2
4
Forced: When you resolve shadow cards dealt to Witch of Angmar, if they have the Sorcery trait, resolve their "when revealed" effects. (Resolve any shadow effects first.)
 4
0
5
4
0
5
Forced: When Wraith of Carn Dûm leaves play, attach it to a character in play. Counts as a Sorcery attachment with the text:
Attached character has -1

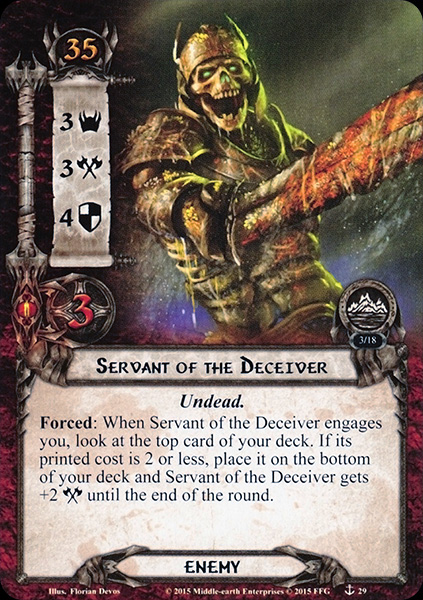 3
4
3
3
4
3
Forced: When Servant of the Deceiver engages you, look at the top card of your deck. If its printed cost is 2 or less, place it on the bottom of your deck and Servant of the Deceiver gets +2 ![]() until the end of the round.
until the end of the round.

 4
3
3
4
3
3
 3
2
4
3
2
4
While you are engaged with Soulless Cadaver, your deck cannot be searched.
Forced: When Soulless Cadaver engages you, place each card in your hand with printed cost 2 or less on the bottom of your deck.
 2
0
4
2
0
4
Forced: When Throngs of Unfaithful is defeated, discard the bottom card of the engaged player's deck. If that card’s printed cost is 2 or less, return Throngs of Unfaithful to the top of the encounter deck.

 6
4
10
6
4
10
X is the number of players in the game.
Immune to player card effects. Cannot be optionally engaged.
Temple Guardian gets -50 engagement cost while Cursed Temple is the active location.
 2
2
4
2
2
4
While engaged with a player, Faithless Desecrator contributes its![]() to the total
to the total ![]() in the staging area.
in the staging area.
Shadow: Attacking enemy gets +1 ![]() (+2
(+2 ![]() instead if the active location is a Ruins location).
instead if the active location is a Ruins location).
 4
1
5
4
1
5
Island Watcher cannot be optionally engaged.
While Island Watcher is in the staging area, it gains:"Forced: At the beginning of the encounter phase, if the active location has the Ruins trait, Island Watcher engages the player with the highest treat. Then, deal it 2 shadow cards."
 2
3
3
2
3
3
Forced: When you travel to the riight, Profane Dead makes an immediate attack against the engaged player.
Shadow: Attacking enemy gets +3![]() if the players control the Gate Key.
if the players control the Gate Key.

 3
3
6
3
3
6
Cannot have non-objective attachments.
Fram's Shade gets +1 ![]() +1
+1 ![]() and +1
and +1 ![]() for each Loot objective the players control.
for each Loot objective the players control.
When Fram's Shade is dealt shadow cards, deal it a number of shadow cards equal to the number of Loot objectives the players control (to a minimum of 1).
 X
X
5
X
X
5
X is the tens digit of the first player's threat.
Forced: When Crypt Stalker attacks, raise the defending player's threat by 1.
Shadow: Either raise your threat by 2, or return attacking enemy to the staging area.
 4
2
4
4
2
4
Forced: When Evil Spectre is destroyed, shuffle it back into the encounter deck if the active location has the Dark trait.
Shadow: Attacking enemy gets +1 ![]() (+2
(+2 ![]() instead if the active location has the Dark trait.)
instead if the active location has the Dark trait.)

 3
1
4
3
1
4
The engaged player cannot reduce his threat.
Forced: After Groping Dead attacks and destroys a character, place 1 mire token on the active location.
Shadow: If this attack destroys a character, place 1 mire token on the active location.
 4
2
5
4
2
5
The engaged player cannot reduce his threat.
Forced: After Dead Things attacks and destroys a character, the defending player raises his threat by 3.
Shadow: Raise your threat by 1 for each Undead enemy engaged with you.
 5
2
6
5
2
6
The engaged player cannot reduce his threat.
Forced: After Candle-bearer attacks and destroys a character, it cannot take damage until the end of the round.
Shadow: Until the end of the round, attacking enemy cannot take damage.

 2
1
3
2
1
3
Forced: After Dead Man of Dunharrow engages you, either attach a set aside Overcome by Fear to your threat dial, or raise your threat by 2.
Shadow: Attacking enemy gets +1 ![]()
 3
1
4
3
1
4
 3
1
5
3
1
5
 4
2
6
4
2
6
Forced: When Shadow Host engages you, either attach a set aside Overcome by Fear to your threat dial, or it makes an immediate attack.
"In that gloom the Shadow Host seemed to grow stronger and more terrible to look upon."
–Legolas, The Return of the King
 6
2
8
6
2
8
 6
2
8
1
6
2
8
1 Immune to player card effects. The first player gains control of Army of the Dead.
Setup: The first player takes control of Army of the Dead.
If Army of the Dead leaves play, remove it from the game.
"Now come! By the Black Stone I call you!"
–Aragorn, The Return of the King